|
|
|
|
|
|
|
|
|
|
|
|
|
Geren
Mortensen's |
|
|
||||||||
|
|
FCSME
Home |
|
|
|
|
|
|
|
|
|
|
|
Geren
& Karl build a waterfall |
|
||||||||
|
|
For a long time
now, the West end of the "Quincy" modules has been
waiting for a creek and waterfall. It's
finally happened, and here are the photos showing
how we did it. |
|
||||||||
|
|
|
|
|
|
|
|
|
|
|
|
|
|
|
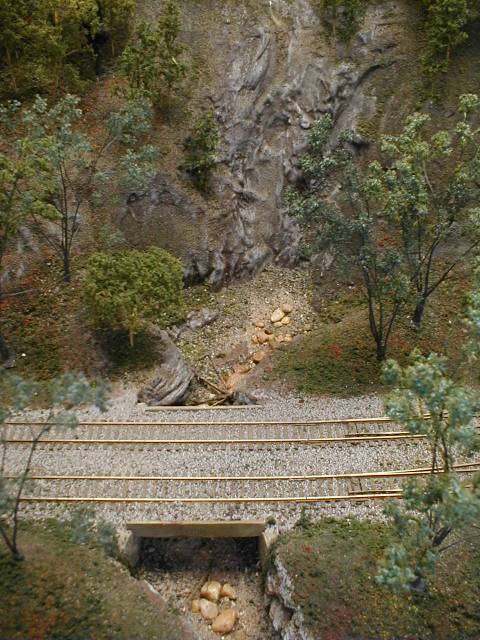
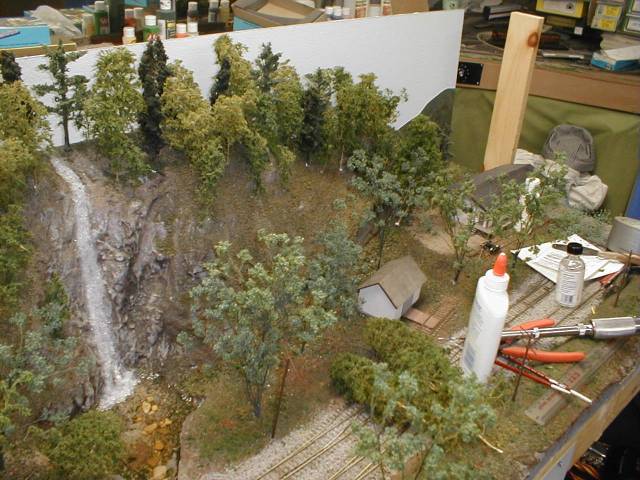
Here's the
area. If you've every seen my modules at a
public show, you know that the waterfall drops
almost 12 inches to a creek bed, which flows out to
the front of the module. |
|
|||||||
|
|
|
|
|
|
|
|
|
|
||
|
|
|
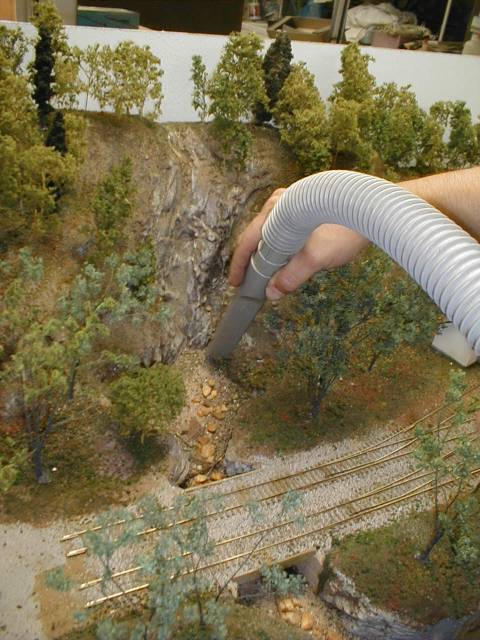
Our first step
was to vacuum out all the loose bits and pieces
from the area of the falls. |
|
|||||||
|
|
|
|
|
|
|
|
||||
|
|
|
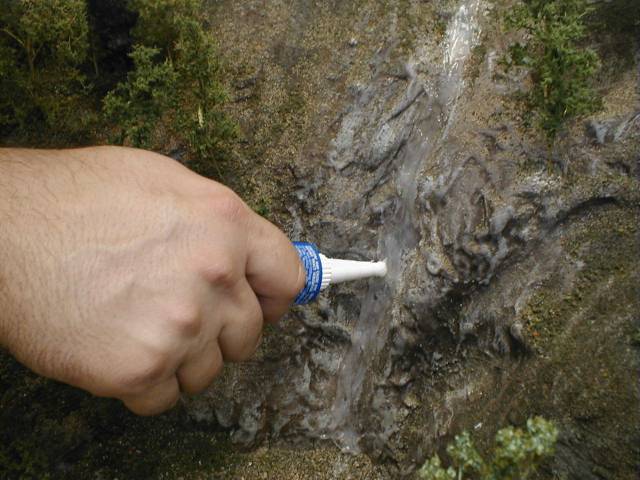
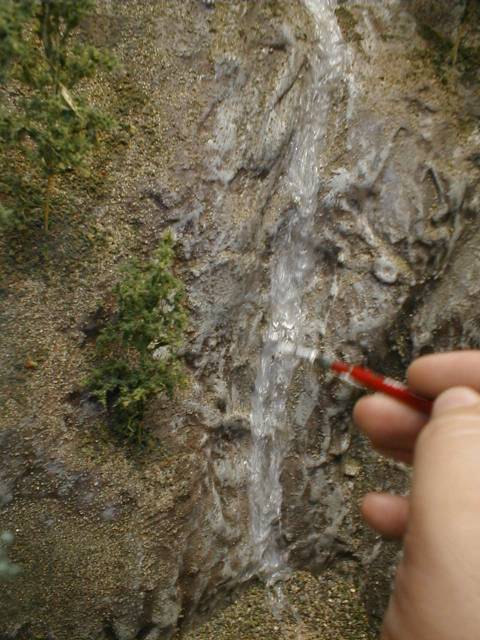
The "water" for
the falls is made of clear silicone tub
caulk. I used whatever was cheap at the local
hardware emporium. I bought the
toothpaste-style tubes because they're easier to
handle in a tight space. To get the desired
thickness, we applied several layers.
|
|
|||||||
|
|
|
|
|
|
|
|
||||
|
|
|
|
|
|
|
|
|
|
|
|
|
|
|
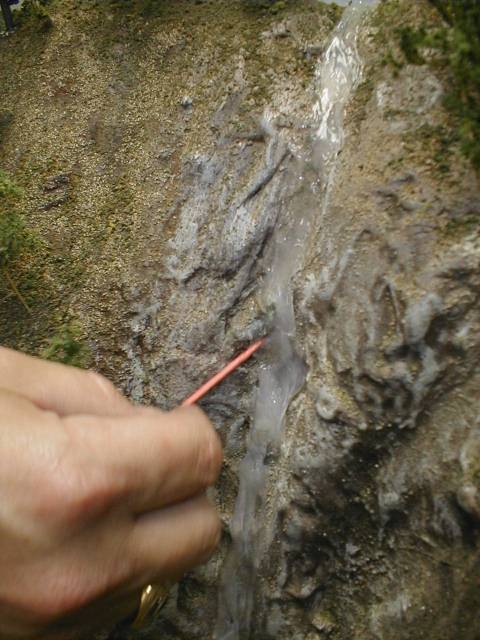
We picked at each
layer of caulk with a toothpick, constantly teasing
the caulk throughout the process to achieve a
frothy appearance. |
|
|||||||
|
|
|
While the caulk
was still soft, I dry-brushed flat white into to
make highlights and foamy areas. Use a stiff
brush for this step, as it helps to form the
somewhat rough texture of the falls. |
|
|
|
|||||
|
|
|
|
|
|
|
|
||||
|
|
|
|
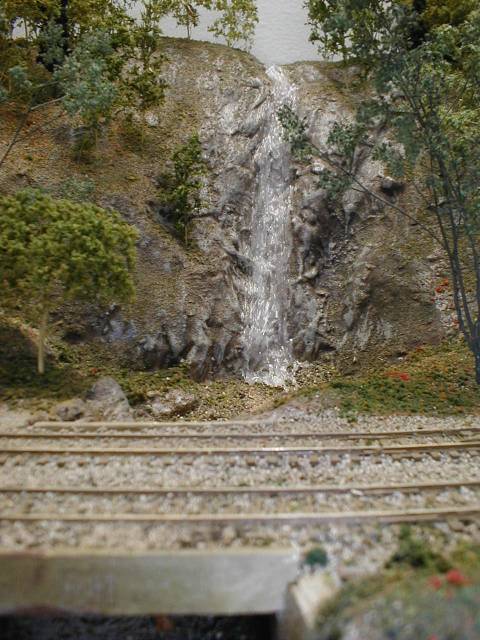
Here's the
"finished" waterfall, waiting for the rest of the
creek to be poured. To pour the creek, we
used a product used in floral arranging to
represent water that Karl's wife found at
Walmart. It's a little less expensive than
Envirotex, but appears to be nearly the same.
The important thing is to make sure that whatever
you choose sets up clear, and doesn't smell like
the "Castincraft" brand! |
|
||||||
|
|
|
IMPORTANT:
Before you begin to pour the "water" into a creek
or lake bed, be absolutely certain that it is well
sealed. The casting resin runs like water,
and will find every little hole in the under-lying
scenery. Karl and I thought that we had found
them all, but the resin found a couple
more! |
|
|||||||
|
|
|
|
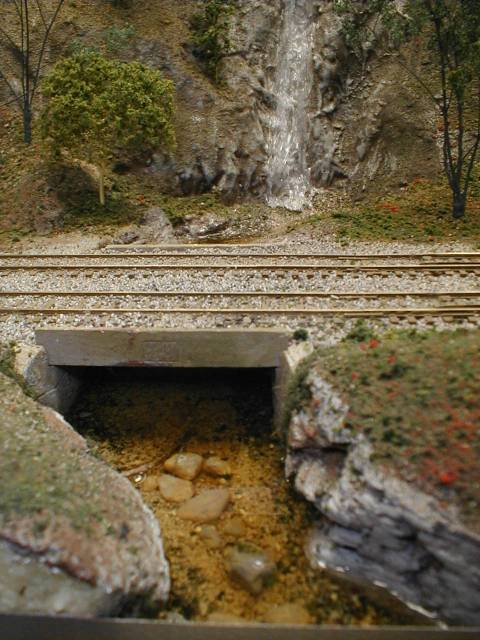
Here's the creek
bed after the first pour. It's better to pour
in thin layers and let each setup before pouring
the next. Always start at the deepest point
and let the resin flow up the banks to avoid having
strange wetlands around your water. I ended
up doing three pours to fill the creek to the
desired level. |
|
||||||
|
|
|
|
|
|||||||
|
This
site and it contents Copyright © Geren W.
Mortensen, Jr., 2000 |
|
|||||||||
|
|
|
|
|
|
|
|
|
|
|
|